> #ros2-foxy
> In this blog, we will first install ROS 2, create a ROS 2 workspace, create a ROS 2 package and then learn a few basic things about it.
Author : Aryaman Shardul
Note : These instructions are for ROS 2 Foxy and were tested on Ubuntu 20.4 LTS. I have installed via Debian packages.
Our first step is to check whether we have a locale which supports UTF-8.
locale
If not, then follow the commands below.
    sudo apt update && sudo apt install locales

    sudo locale-gen en_US en_US.UTF-8

    sudo update-locale LC_ALL=en_US.UTF-8 LANG=en_US.UTF-8

    export LANG=en_US.UTF-8
Now again let's verify whether it's installed or not.
locale
Our first step is to authorize the GPG key and add the ROS 2 apt repositories to our system.
    sudo apt update && sudo apt install curl gnupg2 lsb-release

    sudo curl -sSL https://raw.githubusercontent.com/ros/rosdistro/master/ros.key  -o /usr/share/keyrings/ros-archive-keyring.gpg
Then we add the repository to our source list.
echo "deb [arch=$(dpkg --print-architecture) signed-by=/usr/share/keyrings/ros-archive-keyring.gpg] http://packages.ros.org/ros2/ubuntu $(lsb_release -cs) main" | sudo tee /etc/apt/sources.list.d/ros2.list > /dev/null
Now we update our caches.
sudo apt update
Moving ahead, we have two options for ROS 2 installation.
The desktop installtion comes with all the required tools, debugging features and GUI whereas the ROS base installation comes with only the core packages which are required and nothing more. Therefore, I would recommend to go with the desktop installation option.
sudo apt install ros-foxy-desktop sudo apt install ros-foxy-ros-base We are done with the installation of ROS 2.
Open up a new terminal. Now we need to source the script in order to be able to use ROS 2 commands. Enter the following command:
source /opt/ros/foxy/setup.bash
Now we have to source this script everytime we need to use ROS 2 commands. In order to avoid it, follow the steps below:
gedit ~/.bashrc
Now navigate to the end of the file and enter source /opt/ros/foxy/setup.bash at the end of the file. Save it and close the file. What happens is whenever we open a new terminal, bashrc is automatically executed. So along with
that, the process of sourcing our script is also performed automatically.
sudo apt install -y python3-pip ros2 run demo_nodes_cpp talker ros2 run demo_nodes_py listener We have already installed ROS 2 and configured it's environment above. Now in this section, we will be setting up a ROS2 workspace.
A ROS 2 workspace is a directory containing all the ROS 2 packages.
Open a new terminal and enter the commands:
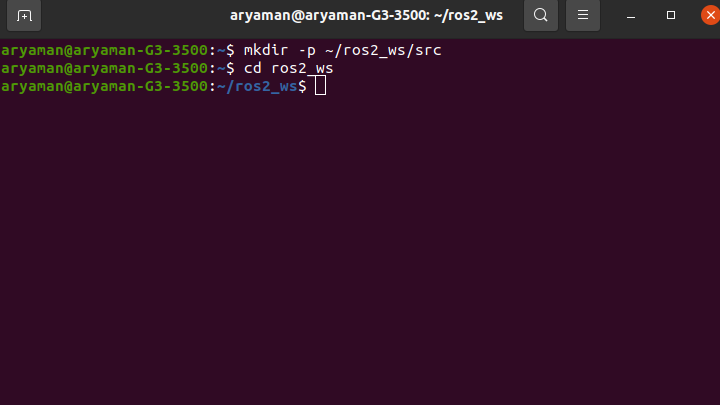
  mkdir -p ~/ros2_ws/src

  cd ros2_ws
Note that the name of the workspace doesn't matter. You can keep it anything you wish.
The above two lines create the workspace, the src directory and navigates back to the workspace.
Now we install colcon. It is an iteration of ROS build tools. To install colcon, enter the following command:
sudo apt install python3-colcon-common-extensions
Now enter the command : colcon build . Now your workspace should have the following directories.
- Build
- Install
- Src
- Log
The build directory stores the intermediate files, the install directory
installs the packages and log directory conatins the logging information.
Now we source the overlay using . install/setup.bash
Note : colcon build --symlink-install saves you from having to rebuild every time you tweak python scripts.
To install ros dependecies, enter : rosdep install -i --from-path src --rosdistro foxy -y
Note: Incase this command is not recognised, then you may have to install the rosdep command first.'
To uninstall ROS 2 or switch to a source-based install once you have already installed from binaries, run the following command:
sudo apt remove ~nros-foxy-* && sudo apt autoremove
With this you have set up your ROS 2 workspace. Now it's time to create your first ROS 2 package.
A ROS 2 package is like a container for all the ROS 2 nodes, dependencies, etc.
Enter:
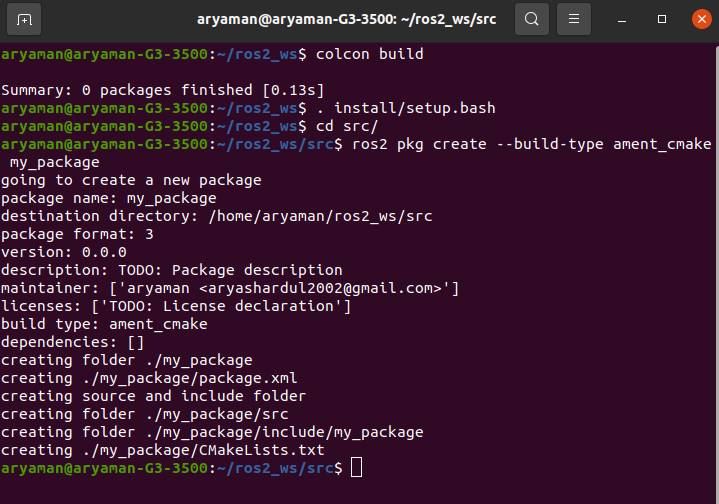
    colcon build

    . install/setup.bash

    cd src
Now ROS 2 CMake and Python packages both have different basic requirements. A CMake package contains a bare minimum of package.xml and CMakeLists.txt files whereas a python package conatins setup.py, setup.cfg, package.xml and resource/package_name files.
ros2 pkg create --build-type ament_cmake Whereas for Python package, enter the following command.
ros2 pkg create --build-type ament_python
Now return to the root of your workspace i.e. simulation_ws in my case and again build it and source the overlay.
    colcon build

    . install/setup.bash
Again note that the above two commands must be entered in the root of your workspace.
colcon build --packages-select my_package Congratulations you have successfully built a ROS 2 package.
Ros or Ros1 was meant for Ubuntu, Fedora and Arch Linux. But Ros2 provides support for macOS and Windows too.
The process of advertising and de-advertising a node in ROS used the ROS Master. The entire process was based on a single node. But ROS 2 uses a Fast DDS Discovery Server due to which the entire process does not depend only on a single node.
